TL;DR
Production LLM deployment is a 7-step process: pick the smallest viable model with AWQ quantization, configure vLLM correctly (max-num-batched-tokens, prefix caching), match hardware to model (Llama 3 8B on RTX 4090, 70B on A100), go multi-provider from day one, instrument 4 metric categories (latency, throughput, cost, quality), configure proactive autoscaling on queue wait time, and load test with realistic prompts before launch.
Step 1: Choose Your Model and Quantization
Before touching a GPU, nail down model selection and serving format. Pick the smallest model that meets your quality bar, then optimize infrastructure around it. Model upgrades are expensive; infrastructure optimization compounds.
Llama 3.1 8B Instruct is the current sweet spot for cost-efficient open-source deployment. Fits in 16GB VRAM at FP16, runs at 2,000+ tokens/second with continuous batching on A100, matches or exceeds GPT-3.5-turbo on most production tasks.
AWQ quantization is the production standard — INT4 memory efficiency with minimal quality regression, supported natively by vLLM. AWQ Llama 3.1 8B fits on RTX 4090 — at $0.29/hr on OneInfer, this is your most cost-efficient path to production.
Step 2: Configure Your Serving Framework
vLLM is the production standard. Critical configuration parameters teams consistently get wrong:
- 1
--max-model-len: Start at 8,192. Increase only when needed. - 2
--gpu-memory-utilization: 0.9 default. Push to 0.95 for dedicated, lower to 0.8 for shared. - 3
--max-num-batched-tokens: Cap at 4,096 for latency-sensitive. Push to 16,384+ for throughput. - 4
--enable-prefix-caching: Always on for RAG with shared system prompts. Free 20–40% throughput.
Step 3: Match Hardware to Model
Treat hardware selection as a decision with long financial consequences.
- 1Llama 3.1 8B (AWQ): RTX 4090 or L40S. OneInfer's RTX 4090 at $0.29/hr is optimal price/performance.
- 2Llama 3.1 70B: A100 80GB for balance. H100 SXM for tight latency. OneInfer's A100 80GB at $0.79/hr.
- 3Mixtral 8x7B (MoE): A100 80GB minimum.
Step 4: Go Multi-Provider From Day One
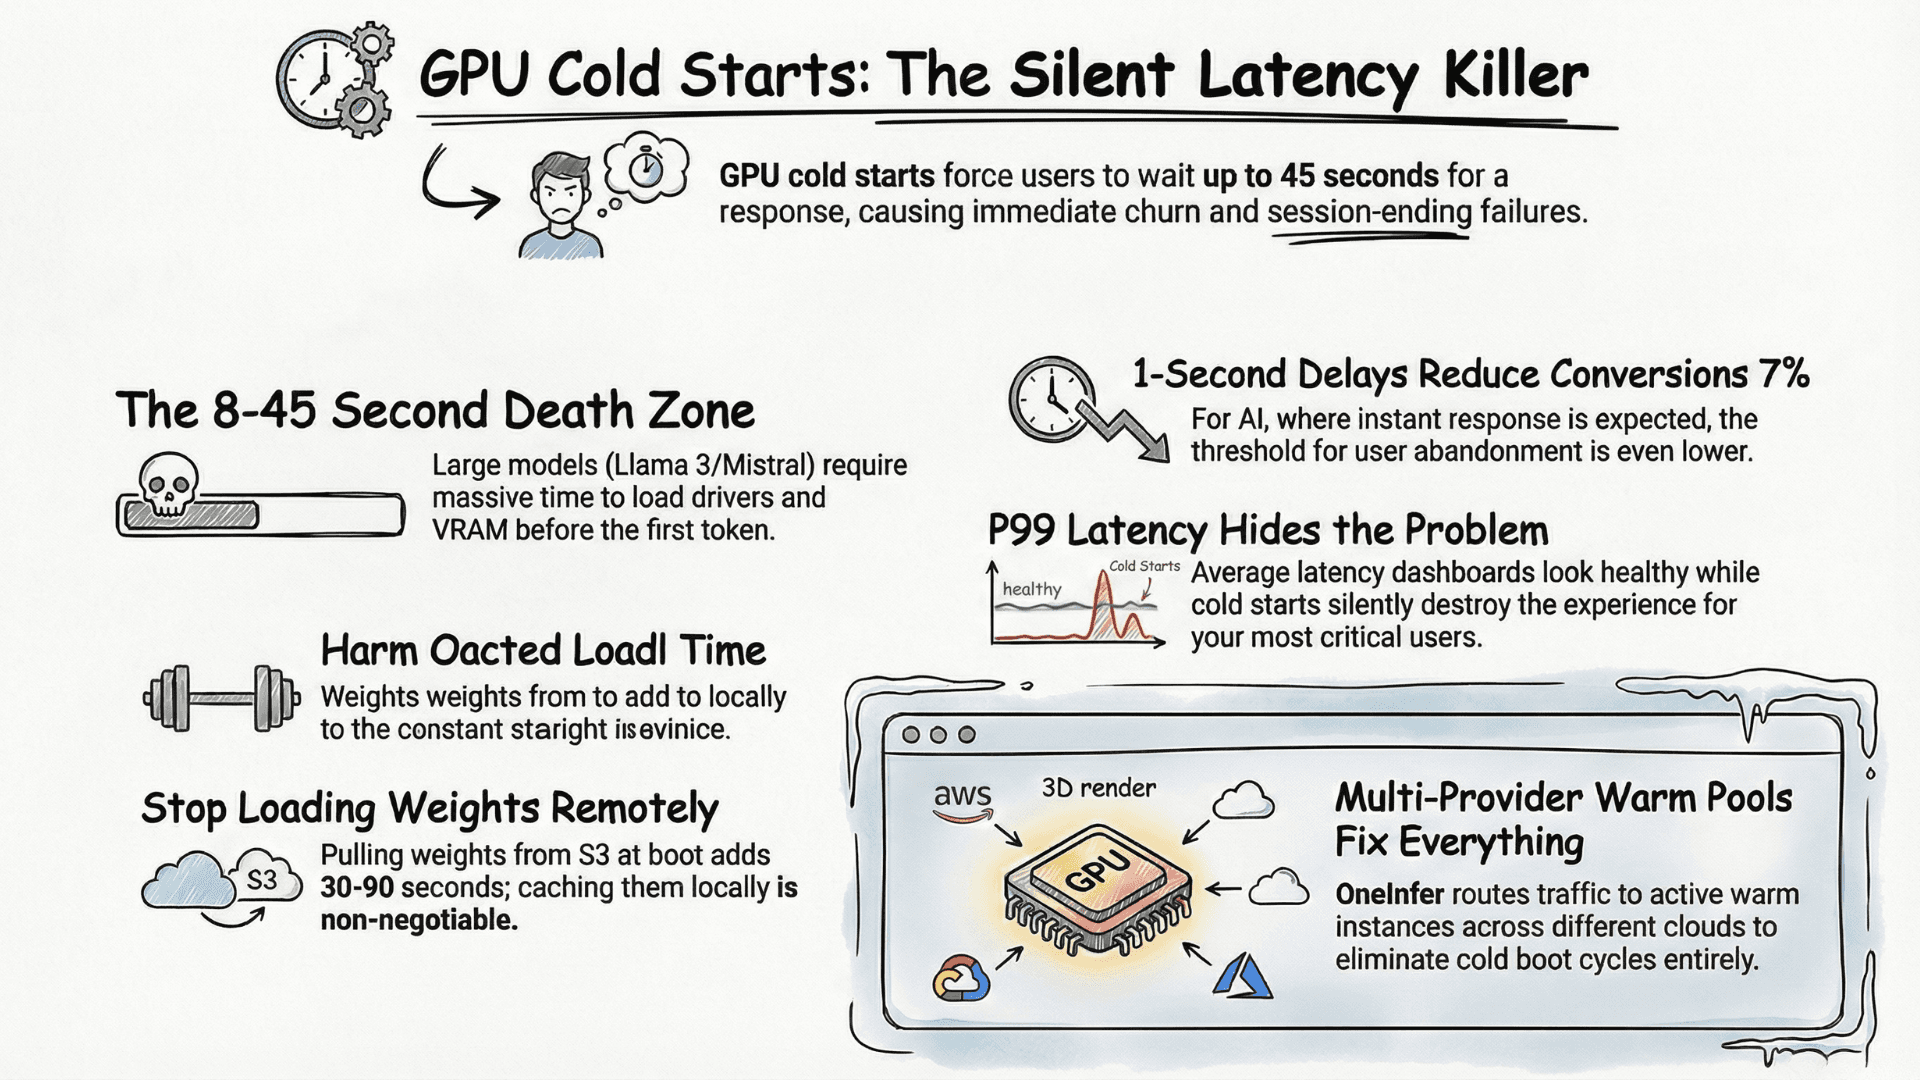
Don't launch on a single GPU provider. This is the most important production advice in this guide — and the advice most teams ignore until after their first provider incident.
GPU capacity is not infinitely elastic. Providers run out of the SKU you need. They have incidents. They change spot pricing without notice.
OneInfer's unified AI inference API is OpenAI-compatible — you write your inference code once, and the platform handles provider routing, failover, and cost optimization transparently. Never rewriting provider-specific integration code, never stuck during a provider incident.
Step 5: Implement Production Observability
Four metric categories before going live:
Latency: TTFT, inter-token latency, total generation time. Track P50, P95, P99 separately.
Throughput: Requests/second, tokens/second, batch size distribution. Tells you compute-bound vs I/O-bound.
Cost: Cost per 1,000 tokens, cost per request, GPU utilization. Without cost metrics, you cannot measure optimization progress.
Quality: Sample 1–5% of production requests. Format compliance, length distribution, task correctness. Arize AI and Weights & Biases both support production LLM monitoring.
Step 6: Configure Proactive Autoscaling
GPU autoscaling is 10–100x slower than CPU. A new GPU instance takes 30–120 seconds to be ready. Scale proactively on leading indicators, not reactively on lagging ones.
Trigger on queue wait time, not GPU utilization. When request queue wait exceeds 500ms — before users feel impact — trigger scale-up. By the time the new instance is warm, you'll need it.
Maintain at least one always-warm instance unless traffic genuinely drops to zero for sustained periods. $0.29/hr for an idle RTX 4090 beats cold-start churn cost.
Step 7: Load Test Before Launch
Before real users hit your endpoint, run a structured step-load test. Start at 10% of expected peak, hold 5 minutes, check utilization, latency distribution, error rate. Step to 25%, 50%, 75%, 100%.
Locust is the Python-native standard. For LLM-specific load testing, use realistic prompts from your actual use case — token length distribution matters significantly for batching behavior.
For a fast path to production-grade open-source model deployment across multiple GPU providers, explore OneInfer's platform or contact the team.
Run multimodal AI inference at production scale
OneInfer routes every request to the optimal GPU across multiple cloud providers in real time, with sub-500ms latency, AI-generated kernel optimization, and transparent pricing.
Frequently asked questions
+What is the cheapest GPU to run Llama 3.1 8B in production?
AWQ-quantized Llama 3.1 8B fits on an RTX 4090 (24GB VRAM). On OneInfer at $0.29/hr, this is the most cost-efficient production-grade hardware tier for the 8B class.
+Should I use vLLM or TGI for production LLM serving?
vLLM is the current production standard with PagedAttention for KV cache, continuous batching, and tensor parallelism. It is well-supported, performant, and the right default for most production deployments in 2026.
+What's the right vLLM max-num-batched-tokens setting?
Cap at 4,096 for latency-sensitive real-time applications. Push to 16,384+ for throughput-optimized async workloads. Always enable --enable-prefix-caching for RAG.
+Why scale on queue wait time instead of GPU utilization?
GPU autoscaling takes 30–120 seconds to bring a new instance online. Queue wait time is a leading indicator — when it exceeds your threshold, scale up before users feel impact. GPU utilization is a lagging indicator that fires too late.
+How do you load test an LLM inference endpoint properly?
Use a step-load pattern (10% → 25% → 50% → 75% → 100% of expected peak), hold each step for 5 minutes, and use realistic prompt length distributions from your actual use case. Locust with custom LLM workload generators is the standard tool.